Monday, 15 August 2016

"Just for you" Card

Hello friends,

Wishing you all a happy, bright and beautiful day! and a Happy Independence day to all my Indian friends! A great day for all of us! 

Today I have a simple pretty card to share with you all, I made it for my brother for Raksha bandhan.


I used Spellbinders Nestabilities Divine Floral Die set, to get these beautiful die cuts! Isn't it looking pretty? 
Sentiment is from Itsy Bitsy.


My handmade bow made with organza ribbon, added a small button at it's center.


This beautiful die set was my winning at Ranganjali & I am so happy to link it for current month's challenge too at Ranganjali blog, where theme is Your favorite technique! Because after using these dies I am in love with die cutting & would try more!
I hope you like it! Waiting to hear what you say :) 
Have a great day!

Linking to:

Monday, 1 August 2016

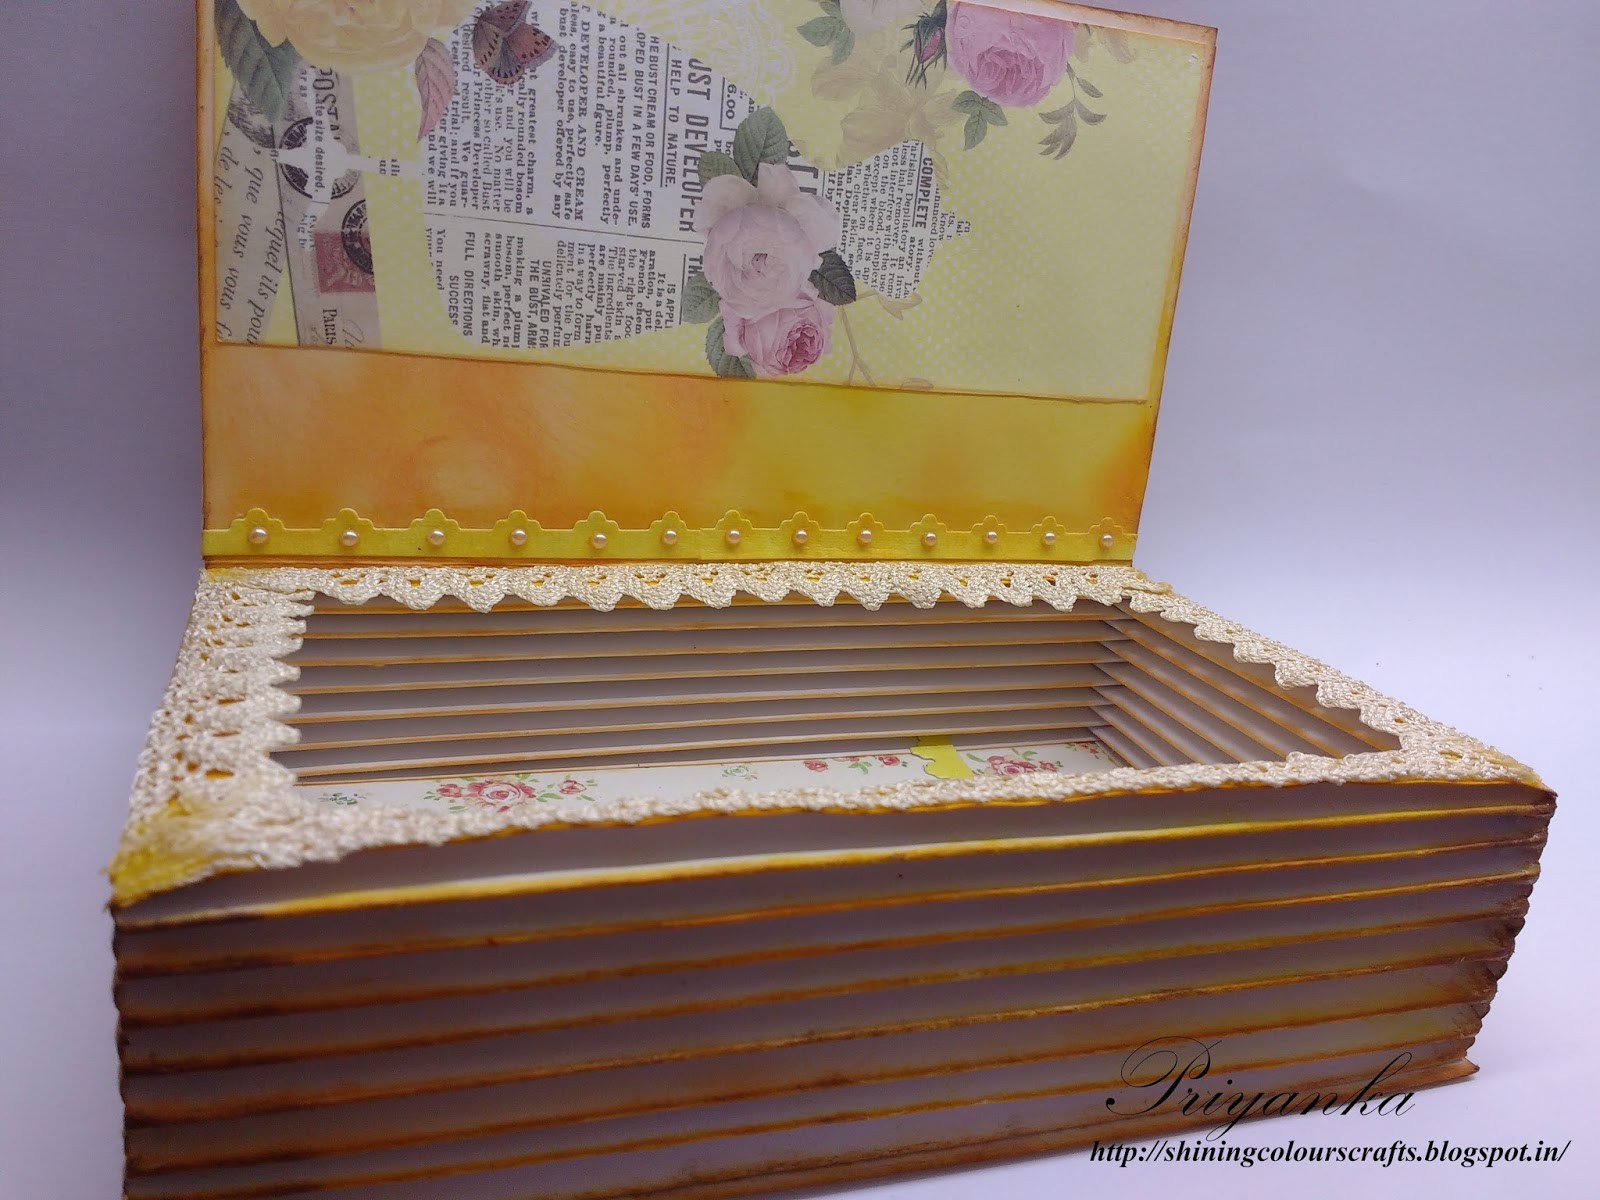
Book Box

Hello friends,

I am so excited to share with you all my first Guest Designing creation at Indian Craft Room ! Yay! 
Theme for this month is Monochromatic and I came up with this book box


Bubble pattern on the cover is made using Peek-a-boo stencil, after stenciling the design in two shades I just cut the entire sheet into strips and added them randomly to the cover to give it an interesting pattern and layers. Die cuts are from Spellbinders Nestabilities Divine Floral set. White and yellow shaded flower is a gift from one of my blogger friend Shalu, thank you dear!

I hope you like my creation! Do let me know, I would love to read what you say! :)

Have a great day!

Linking my box to:

Unstampabelles Challenges (Anything but a card)

Eclectic Ellapu Challenge- Pink Team (Floral)

Things to Alter Challenge (Anything goes)


Monday, 25 July 2016

"You make me Happy" Card

Hi Friends!

How are you all? Hope you all are fine and enjoying this rainy season. Today I have a colourful card to share. Have a look


I love the scene created with the flowers and the fluttering humming birds against the die cut back ground. I have coloured them using Faber castell color pens. Stamps and dies are from Peek-a-boo designs, an Indian brand!

Sentiment die cut is from Itsy Bitsy, another famous Indian crafty brand!

Added three layers stacked with foam tape to create some dimension and brushed some gesso at their edges. 


I hope you liked my card! Do share with me!
And thank you so much for visiting and taking time to comment on my blog :) Means a lot to me :)

Have a Great day!

Linking my card to:

Peek-a-boo Designs (Only Layers)


Simon Says Stamp- Wednesday Challenge (Things with Wings)

Sweet Stamps Blog (Anything Goes)

Penny Black and more challenge (AG with a stamp)

Monday, 27 June 2016

Itsy Bitsy Blog Hop

Hi Friends,

Another interesting blog hop at India's biggest craft store Itsy Bitsy,
Join Itsy Bitsy Sizzix Blog Hop here 

& have fun!


Have a great day!

PABD Blog Hop

Hello Friends,

There is an amazing blog hop at Peek-a-boo-designs! 
Check it out at http://peek-a-boodesigns.blogspot.in/2016/06/challenge-7-and-blog-hop.html


Do visit to view their amazing stamps & stencils and inspirations from DT members at their blogs.

Have a great day!

Sunday, 26 June 2016

Blooming Memories of France!

Hello Friends,

Hope you all are enjoying your weekend! I made a colourful layout yesterday, a different try with new techniques. Have a sneak peak and then I'll disclose what I did with this :)


Isn't it looking pretty? I love the effect of colours.

For it, I started with a 12 by 12 inches pattern paper. Sprayed some shimmer mists at the all the corners, after it was dry picked my soft pastels in pink and orange shades and blended the colours using my fingers. Although I used pastels above the mists but the shine was still visible! 

Now stamped the flower images using Itsy Bitsy stamp set (big florals) and my newly purchased Mudra's botanical blooms stamp set. Both are made in India products! and I loved them :)
After stamping the florals in black ink again I used my pastels in blue and green to create some deeper effect towards inside around the images on paper. 

Next highlighted the Eiffel Tower, Colosseum and other images with black gel pen. Rubbed some black pastel at the edges of Eiffel Tower. Now using a white gel pen highlighted the stamped images and monuments. Using texture paste stenciled a clock and added a shimmery butterfly at it's one end.

Next added two hearts rub ons near the Eiffel Tower and created some snowy effect with white gel pen. Lastly rubbed the black pastel at edges and it was done!

I didn't captured the making process as I was not sure what I will do next and how it will look, anyways end result was good. I hope you all liked it too! Do share with me :)

Thanks for visiting! 
Have a great day! :)

linking my layout to

Virginia's View Challenge #22 (Summer Challenge)


I used my old pastels lying with me since years and new stamp set!


Mod Squad Challenge (All that glitters)

One Crazy Stamper Challenge (AG)

Wednesday, 22 June 2016

Masculine Card

Hello everyone,

I have a masculine card to share with you all, which I made on Father's day. I'll be giving it to my father when I'll visit home, till then I'll make more gifts for him :) 
Have a look


I was having some diecuts from Eno greeting paper pack, so I used them all to layer up my card while for the background I used a wooden texture paper from Papericious.

Some close ups


Hope you like it, do share, I love to read what you say :)

Thanks for stopping by!
Have a great day!

Linking my card to

Paru's card making challenge (Father's day)


Double D challenges (One for boys)

I picked bike inspired by the moodboard.


Simon Says stamp- Monday Challenge (Pattern Papers)

Stamping Smiles Designs- Tic tac toe challenge
I used 3 elements from 2nd column- layers & dimension + natural twine (inked in black) + Masculine


Ranganjali (Anything but flowers)


Monday, 20 June 2016

1st Blog Anniversary!

Hello Friends!

How are you all? I am so happy today, I just completed my one year of blogging! It's my first blog anniversary, so happy!! Just one year ago I entered in this beautiful blogging world with so many ideas and my crafty dreams, was little nervousness but with all your support, love and encouragement moved further and now thoroughly enjoying this amazing journey! 


I never imagined I could connect with so many beautiful people around the world and make such lovely friends! It has been a fantastic year and I had a great learning experience too. 

I must say challenges further boosted me a lot to participate, to create and to think over new ideas and bring out the best in me.

It feels so good when you follow your creative side, it just motivates you, fills you with energy and makes you happy even in your gloomy days. And then it fills you with confidence when you move in the direction of your dreams of something what you actually want to do and love to do. So I am very happy with my decision of coming in this blogland to share & enjoy this creative life!

 I'am dedicating this beautiful day to all my blogger friends, readers, followers and definitely at the top my parents and my loving brother who always motivated me, without their support I would never be here. So a big Thank you to every one! 

Hope you'll continue supporting me in the coming months too :)

Thank you so much for visiting and taking time to leave your wonderful words. I love to read them, each one is special for me. Would love to make many new blogger friends too, if you come here do let me know so that i can come back to you, connect with you & see your creativity! 

Lots of love and good wishes!
Stay blessed and Happy!

Big Hugs,
Priyanka

Thursday, 16 June 2016

My Handmade Post card!


Hello Friends :)

I have a post card (4 by 6 inches) to share with you all with my own hand written message, have a look


I used a dull cream shade handmade sheet for this and stamped flowers using Jane Doodles stamp sets and leaves from Itsy Bitsy stamp set. All coloured using Faber Castell colour pens and Faber Castel colour pencils. Script stamp is from Bo Bunny. 

The words "Post card" was written using a gold 3D outliner.  

I added a butterfly stamp at the corner, this die cut was lying with me since a long time, and now finally it got a place on my post card! Message is written using colour pencil.


Edges are all inked with fancy fushia, artistry stamp pad and gathered twigs distress ink.

I hope you like my simple project. I would love to hear what you say! Please share :)

Have a great day!!


Linking my creation to

Indian Craft Room- ICR CoasteRides


Sunday, 29 May 2016

Mini Album


Hello Friends,

How are you all? It's after a long time I'am coming back, apologies for not being here. I have just shifted to a new city, away from my home for my job & so trying to balance everything. Really miss you all & this blog land a lot! Will try to come here frequently & visit you all soon :)
Now coming to today's project,I took 6 days to complete this bulky album but was very happy with the end result :)
A picture heavy post! So sit back & enjoy!


This album measures 6.5 by 7.5 inches in size.


For the cover I layered up the pp & added textures using stencil & texture paste, mulberry mica flakes and some bricks made using Tim Holtz distress crackle paint (fired brick). All pattern papers are from Wooden collection by Papericious and Paper Designer (flowers) by Eno Greeting. Leaves on the cover page were fussy cut from My Golden garden embellishment sheet by Papericious. Just loved the pretty elements covered in this sheet. 
Before adhering the pages edges were distressed & inked with DIs.


The bigger pocket holds the photo mat & the smaller one holds the tag.


You can see paper clips on every page it was just used to hold the page & to take pics!


Photo in the window frame can be pulled out from the other side.


Pocket in heart shape for holding tags.


This page has a detachable photo mat, held in place with a smaller paper sheet & tiny chipboard piece. 


This page has a vellum sheet embellished with designer tape & pp adhered at the back. It holds an oval frame for small pic & a photo mat which can be pulled from top.


Photo mats on this page are also detachable, the butterfly (made with Fevicryl shilpkar & silicon mold) & clips holds the pages in position.

That was all for today, I really enjoyed making this album and hope you all enjoyed it too! I would love to know what you say :) It means a lot to me!

Thanks for visiting! Have a great day!!

Linking my album to
Lulupu Challenges (Mini Albums)


You may also like.